|
Getting your Trinity Audio player ready...
|
Smart home automation has become more accessible and affordable than ever. You don’t need to be a tech wizard or hire professionals to make your home smart. With some basic tools and a bit of time, you can automate various aspects of your home, making it more convenient, efficient, and secure. Here are some step-by-step guides for DIY home automation projects that you can start today.
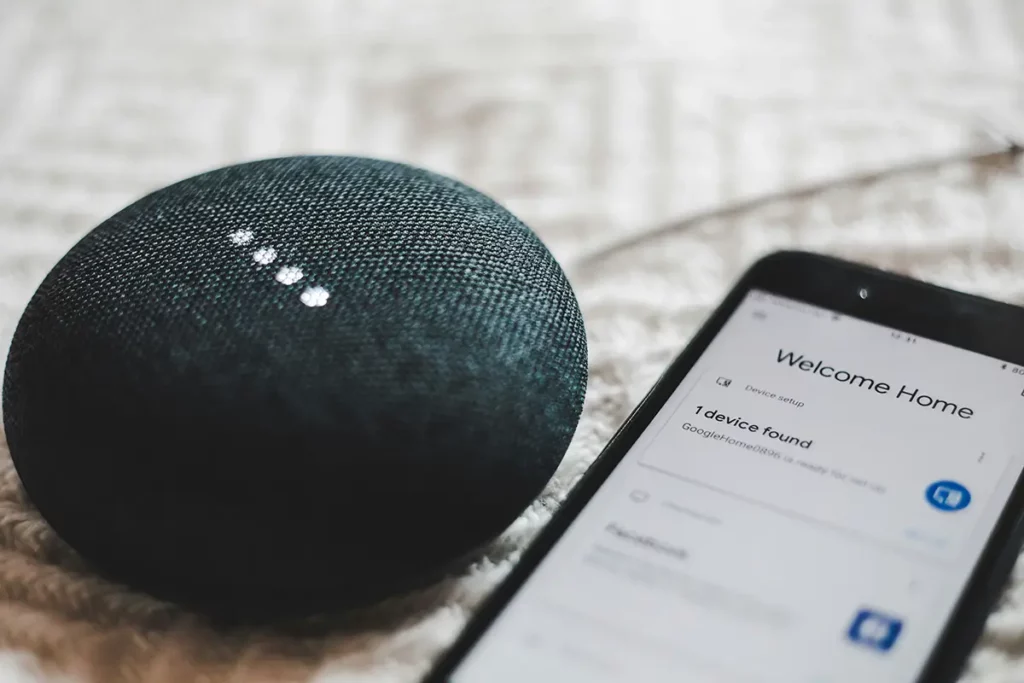
1. Smart Lighting System
Project Overview: Automate your home lighting to control it with your smartphone, voice commands, or scheduled timers.
Materials Needed:
- Smart light bulbs (e.g., Philips Hue, LIFX)
- Smart hub (if required by your smart bulbs)
- Smartphone
Steps:
#1 Choose Your Smart Bulbs:
Select smart bulbs that fit your fixtures. Ensure they are compatible with your preferred smart home ecosystem (e.g., Google Home, Amazon Alexa).
#2 Install the Bulbs:
Replace your existing bulbs with smart bulbs.
#3 Download the App:
Install the corresponding app on your smartphone.
#4 Connect to Wi-Fi:
Follow the app instructions to connect the bulbs to your Wi-Fi network.
#5 Set Up the Smart Hub:
If your bulbs require a hub, connect it to your router and follow the setup instructions in the app.
#6 Customize Settings:
Use the app to create lighting schedules, group bulbs by room, and set up voice controls.
Tips:
- Experiment with different lighting scenes and colours to set the perfect mood for different times of the day.
- Use motion sensors to automate lights in hallways or bathrooms.
2. Smart Thermostat
Project Overview: Install a smart thermostat to control your home’s heating and cooling systems remotely, saving energy and money.
Materials Needed:
- Smart thermostat (e.g., Nest, Ecobee)
- Screwdriver
- Smartphone
Steps:
#1 Turn Off Power:
Turn off the power to your HVAC system at the circuit breaker.
#2 Remove Old Thermostat:
Detach your old thermostat, noting the wire connections.
#3 Install the Smart Thermostat:
Follow the manufacturer’s instructions to install the new thermostat. Most smart thermostats have clear labels and instructions for connecting wires.
#4 Turn On Power:
Restore power to your HVAC system.
#5 Set Up the Thermostat:
Follow the on-screen instructions to connect the thermostat to your Wi-Fi network and configure settings.
#6 Download the App:
Install the corresponding app on your smartphone and complete the setup.
Tips:
- Utilize the thermostat’s learning features to optimize your heating and cooling schedule automatically.
- Integrate with voice assistants for hands-free temperature control.
3. Smart Security Cameras
Project Overview: Enhance your home security with smart cameras that offer live streaming, motion detection, and recording features.
Materials Needed:
- Smart security cameras (e.g., Ring, Arlo)
- Smartphone
- Wi-Fi connection
Steps:
#1 Choose Camera Locations:
Select locations with a clear view of entry points like doors and windows.
#2 Mount the Cameras:
Use the provided mounting hardware to install the cameras. Ensure they are within range of your Wi-Fi network.
#3 Connect to Power:
If using wired cameras, plug them into power outlets. For battery-powered models, ensure they are charged.
#4 Download the App:
Install the camera app on your smartphone.
#5 Connect to Wi-Fi:
Follow the app instructions to connect the cameras to your Wi-Fi network.
#6 Configure Settings:
Set up motion detection zones, notification preferences, and recording schedules through the app.
Tips:
- Consider using a combination of indoor and outdoor cameras for comprehensive coverage.
- Utilize cloud storage options for recording and storing footage.
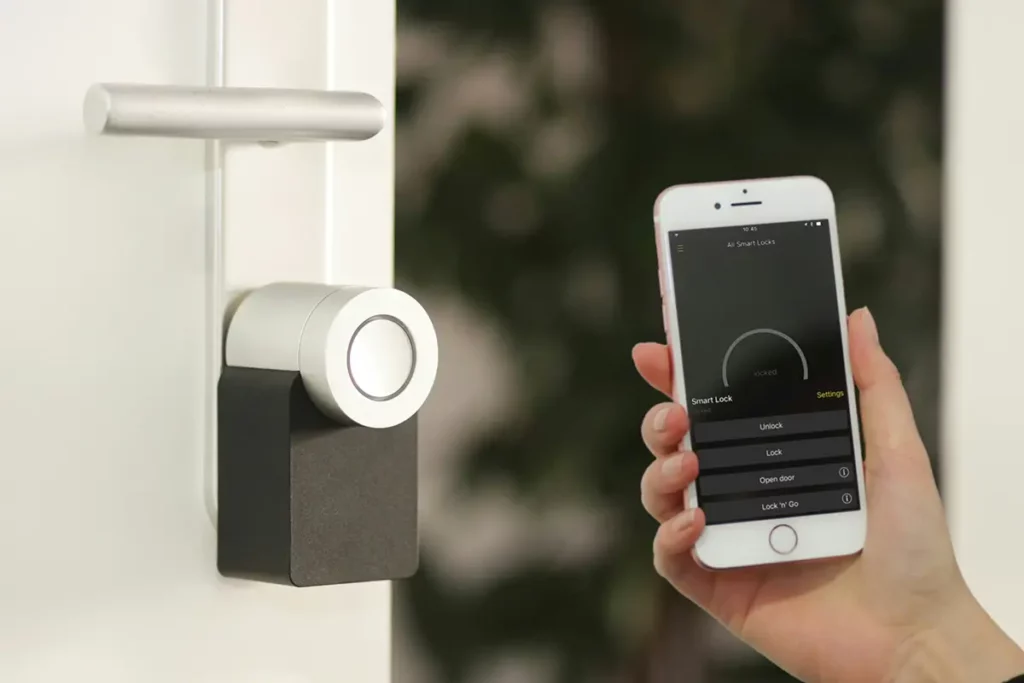
4. Smart Door Lock
Project Overview: Upgrade your home’s security and convenience with a smart door lock that can be controlled remotely.
Materials Needed:
- Smart door lock (e.g., August Smart Lock, Schlage Encode)
- Screwdriver
- Smartphone
Steps:
#1 Remove Existing Lock:
Use a screwdriver to remove your existing deadbolt.
#2 Install the Smart Lock:
Follow the manufacturer’s instructions to install the new lock. This usually involves attaching the smart lock to your existing deadbolt hardware.
#3 Download the App:
Install the corresponding app on your smartphone.
#4 Connect to Wi-Fi:
Follow the app instructions to connect the smart lock to your Wi-Fi network.
#5 Set Up Access:
Create digital keys for family members and set up any additional security features.
Tips:
- Combine your smart lock with a video doorbell for added security.
- Use geofencing features to automatically lock and unlock your door as you come and go.
5. Smart Plugs
Project Overview: Control non-smart appliances and devices by plugging them into smart plugs, allowing for remote control and scheduling.
Materials Needed:
- Smart plugs (e.g., TP-Link Kasa, Wemo)
- Smartphone
- Wi-Fi connection
Steps:
#1 Plug-In the Smart Plug:
Insert the smart plug into a standard electrical outlet.
#2 Connect Your Device:
Plug the device you want to control into the smart plug.
#3 Download the App:
Install the corresponding app on your smartphone.
#4 Connect to Wi-Fi:
Follow the app instructions to connect the smart plug to your Wi-Fi network.
#5 Set Up Schedules:
Use the app to create schedules, timers, and automation rules for the connected device.
Tips:
- Use smart plugs for lamps, coffee makers, and other small appliances to add convenience and save energy.
- Integrate smart plugs with voice assistants to control devices with simple voice commands.
With these DIY home automation projects, you can transform your living space into a smart home with minimal effort and cost. Each project enhances your home’s convenience, efficiency, and security, providing you with greater control over your environment. Happy automating!


